MT204....you obviously found the thread with my sand bed picture in it. Can you go back and find it and post it here for others to see? Thanks....Ma has me busy now or I'd do it myself.
Here's a pic of the skillet with 4 cups in place along with the sand.
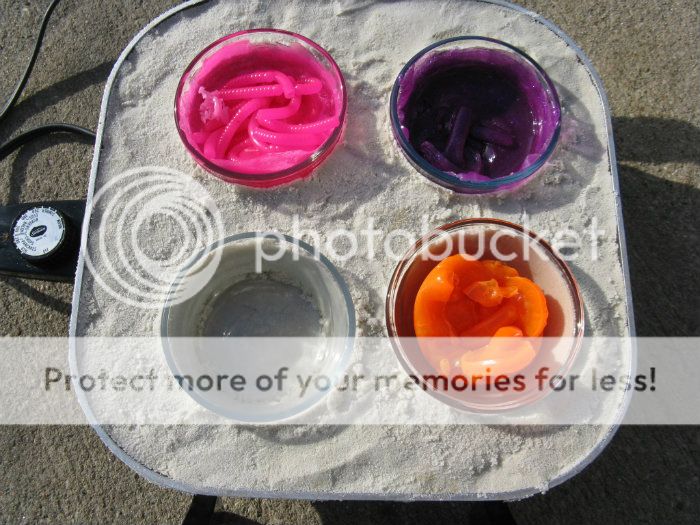
I took the pic outside so I wouldn't have shadows. The cup in the lower left corner is empty to help show how deep the sand is along the sides. The cup of orange to the right of it also will show this aspect. Under the cups there is roughly 1/2" of sand.
Here's my theory behind this. This sand is nothing more than silica. Silica is a primary contributor to today's computer industry due to its heat holding properties....those being primarily that the silica distributes it's heat extremely evenly. In shallow skillets, the cups sitting on the burner surface still have sides exposed to air currents. Air equates to heat loss from the get-go but air currents will raise havoc with anything in those cups you want to remain temperature static. Using the sand in a deeper skillet such as this allows the heat across the bottom to be spread more evenly and affords way less chance of hot spots developing when items are sitting directly atop of the heating element. The heat is also broadcast throughout the sand mass and up along the sides of the cups, thus eliminating any chance of air flow along the sides of the cups and contents will create inconsistent temperatures. The only place the air can affect the temps much is from the top, so temp control is optimal compared to other heating methods and I'll stand this against the cast iron too.
The temp control is initially used as a reostat to set it at the right temp. On this unit I'll fill the cups with cooking oill to begin and check the temp as things heat up. When I hit 340 degrees, the reostat will get a couple of proof marks in the off chance the control gets moved. To turn on the unit I'll simply plug it [the reostat] in. To turn it off, I'll just pull the reostat without shutting it down to zero degrees. After proofing with the cooking oil I'll clean the cups and heat junk plastic enough to fill them in the microwave and fill each with the hot plastic after the skillet has heated to the pre-established temp. I'll let the plastic settle some and after a few minutes stir and do a temp check. With the junk plastic fluid in the cups I can make any adjustments to the reostat, up or down a few degrees, to be certain that the plastic will stay at my desired 340. Once that's done and any re-marking of the reostat dial is done I'll stary using good plastic in it.
I have a smaller, two cup deep skillet similar to this one that I have used for a while now with great success. In that one I actually added elmers glue in a little water to dry sand and mixed it up, adding more water to get the sand to a workable consistency. After setting the cups and leveling the sand I allowed the water to evaporate out of the sand a few days in the furnace room, then ran the heat up with oil in the cups until the sand was hard. The elmers helps to hold vagrant sand from going anywhere but I found that by adding a bit more sand under the cups I did not have that problem again anyway, hence the 1/2" under the cups of the large skillet.
I have re-heating good plastic down to a fine art now, but sometimes I have to shoot several molds several times of clear plastics. My glitter bluegill is one that can take off on me in a blink and having the hotplate with my working plastic seems to erase that problem. Having the plastic sitting deeper into the heat source seems to keep it much easier to work with than when using shallower heating methods. I can pull the plug on the smaller unit and the plastic will still be easy to handle ten minutes later....that's how well the sand insulates and holds the heat.
